Sunday, October 10, 2010

Adjika (Аджика)

I want to continue my cooking blog. My son Sergey moved out for real this time and, surprise, he loves my blog! Even his friends are interested in cooking Russian food.

So, in today's menu we have Russian Hot Sauce Adjika. I made it last year and it was a big success with my son. We loves hot food! So, if you are in a mood for something hot, here it is! I did a lot of hot sauce at once, so I had to can most of it.
You will need: 6-8 pounds of tomatoes, 2-3 pounds of bell pepper (any color), 1/2 pound of garlic, 5 oz of red hot pepper, 1/2 cup of sugar, 1/2 cup of salt, 1/2 cup of vinegar, 1 cup of vegetable oil, one bundle of fresh herds of your choice (parsley, cilantro, celery). I also added 1 pound of apples and 1 pound of carrots.

I found a great deal for tomatoes at the fresh market - huge box of home-grown tomatoes for only $12. After I measured them up, I had to double my recipe because I had over 10 pounds of tomatoes. But you are allowed to follow the original recipe. :) Wash tomatoes thorough.

I couldn't find red hot pepper, I found green ones. But even these little pods were very hot and dangerous. Wear kitchen gloves working with them. Wash them, cut the tops off. Here is a little secret. If you want your adjika really hot - do not delete the seeds from the pepper, use the whole pod. If you want it mild - cut pods open and discard seeds into garbage. Then your sauce will have mild taste.

Peeling off garlic was very time-consuming and annoying business. But I don't know any other way to do it better except peel off each one individually. Maybe you know?

Carrots: if you use baby carrots they are ready for cooking. If you use the big real carrots, then wash them and rub them with something hard (like new sponge) so they will be clean.

Wash the apples, cut them into pieces and delete the middle part with seeds.

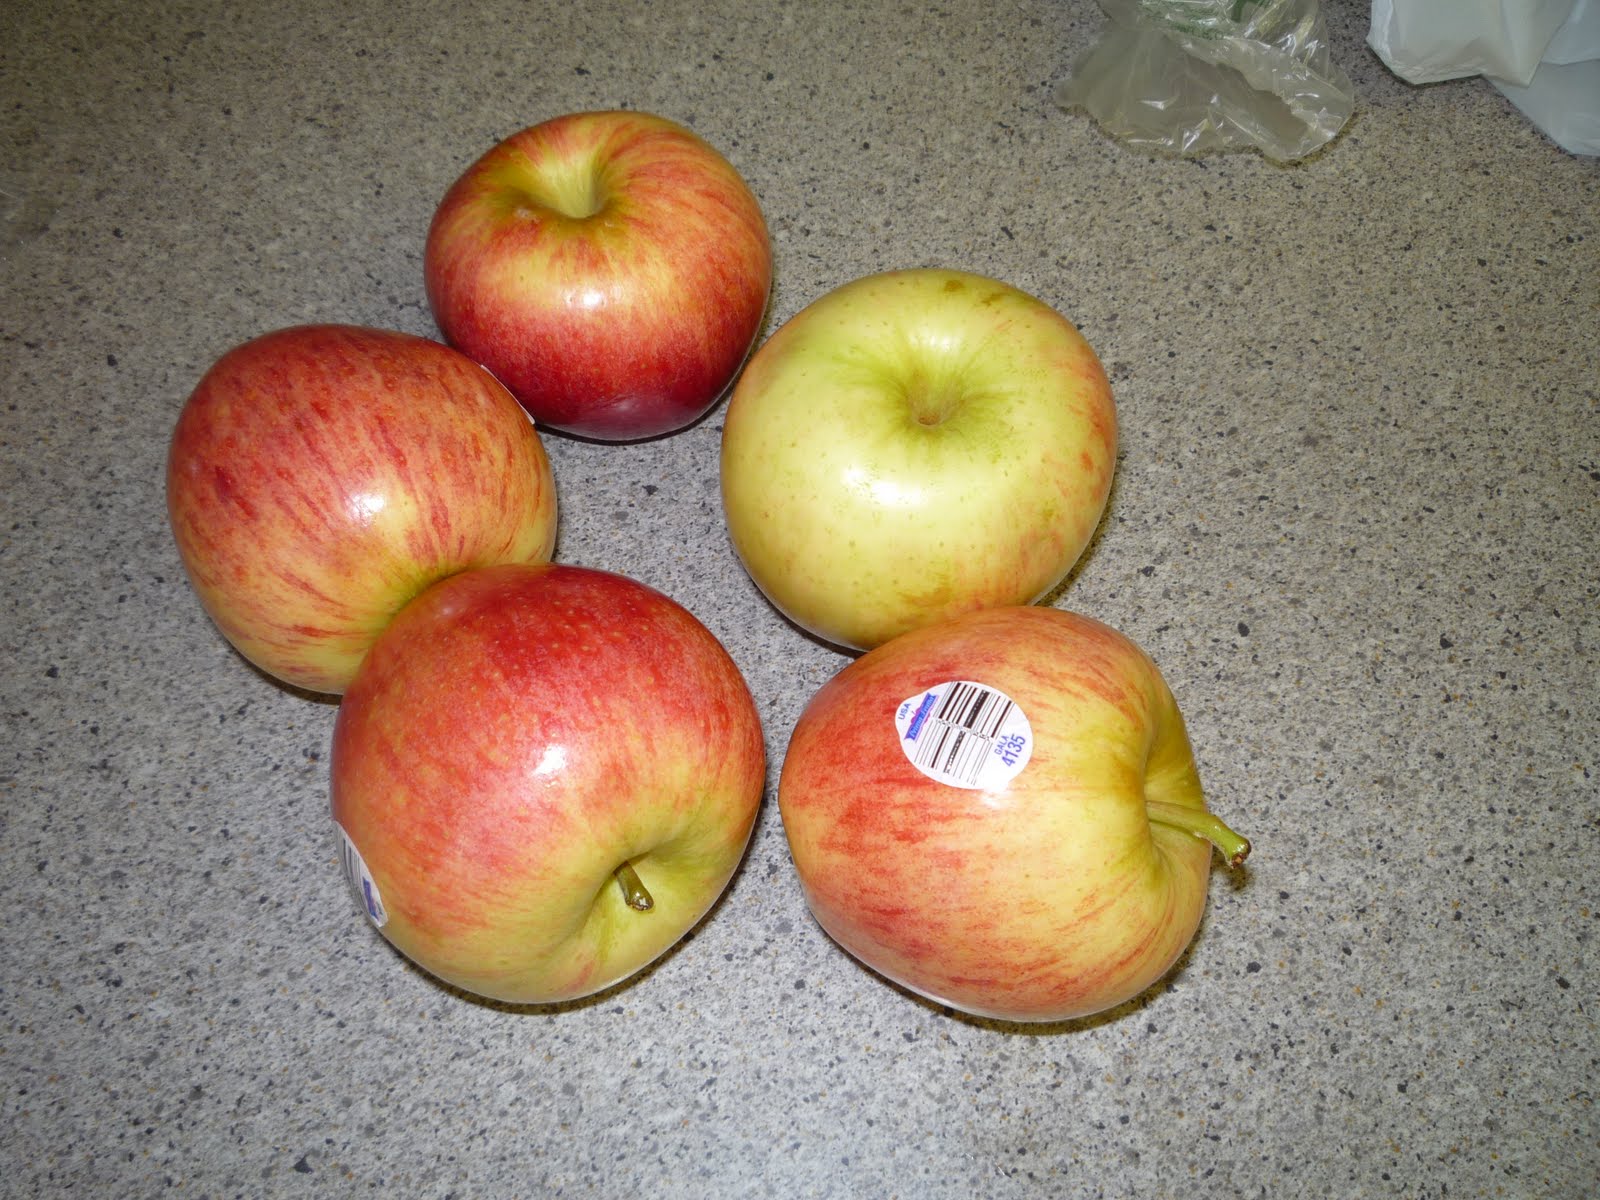
Now, part by part put all ingredients listed above into blender and crash them well. I dumped all veggie mix into a big metal pot, added vegetable oil and simmer them on a low heat for an hour.

While it was simmering, I took care of my jars. You can use the regular mouth 1 pint Mason jars. But any other glass jars will work too as far as they are whole and have leads.

I placed them into dish-washer to wash and sterilize.

Add the rest of ingredients from your list to the veggie mix: salt, sugar, vinegar, crashed hers. Bring it to boil again.

Simmer a few more minutes and start pouring the hot liquid into the clean jars. Be careful! This is very hot business! I used a special device (лейка с широким горлом).


When you fill up all your jars, tight them up with clean hot leads, place then on some soft surface and cover up to keep them warm. Leave them for another day. They continue to pa-sterilize inside.

Afterward, I had a lot of garbage....

and a lot of dirty dishes that I had to wash...

But it was totally worth it. It was very good. If you are still not convince to make it for yourself, come to my house and I will give you one jar for free! :)

Sunday, September 5, 2010

Cake for Leana

When I asked Leana what kind of cake she wants for her Baby Shower, she replied, "Napoleon..." But I found it too time-consuming and made her a different kind of cake! I made her a Diaper Cake! I want to warn you that this cake is not eatable! But it looks good and it is my Baby Shower present for Leana! So, I want to share recipe here for those who wants to "cook" it sometimes! It is really easy to cook and it takes only 20 minutes compared to the real "Napoleon" cake that takes a couple of hours!
First, I will list the main "ingredients". You will need a box of new-born size diapers.

Then some "stuffing" like clothes for the baby, according to the gender pink or blue.

Some small toys, hygiene items or anything baby will need.

I also found very cute baby-shoes with Winnie the Pooh picture on them!

Also you will need knitting yarn, scissors, sewing pins, hard-board circle and plastic wrap for the decoration part.

I did three-layers cake. It is handy when you have someone to help you to fold diapers in the shape of the big round. If you are doing it alone, you need to cut pieces of yarn before you start. Cut about 5 of them with the different length from 1 foot to 3 feet. Now open the box with diapers and start rolling them together, adding them one by one.

When it is hard to hold them together, take a piece of yarn and tight it around the diaper roll.

Do all three layers with of desired size. I did the biggest one first just to make sure it fits my "cake plate", meaning the hard-board circle that we prepared before.

When it is all done, they should somewhat like that picture.

Now you need to use sewing pins to hold them together. DO NOT USE GLUE GUN AT ANY POINT! It will totally ruin the diapers and the whole point of this present is that the mother of the baby will have her first diapers handy. So, little tiny wholes from the pins won't ruin it, but glue gun will for sure!

Next part is decorating. Place the big piece of wrapping plastic or other kind of wrapping material you want on the table. Set our "cake" in the middle of it.

Now use all your items for decorating. Roll pieces of clothing and tight them up with the yarn. Use tape or pins to keep your items in places. Let your fantasy be your guide and be not afraid to overload your cake with baby items. Mom and new-born will need everything!


Carefully wrap the plastic around your cake trying to keep all the decorating items in places. Tight it up on the top.

Place the bow and some ribbons.

Your cake is ready! Wasn't it easy?? I hope that Leana and Aleks will like it!

Tuesday, July 27, 2010

Pork Loin with mushrooms (Буженина)


This recipe probably won't be really popular among my American readers. :) Somehow, I rare meet Americans who love pork. But this fact won't stop me from posting the recipe. It is mostly Sunday Dinner recipe for big family, also suitable for banquet and big party. I cooked my pork loin for Harsha's party and use some tips from Bear-foot Contessa recipe book. But the original idea was mine and I cooked this meat for years.
If you are not big mushroom-lover, skip this part. But if you don't mind mushrooms in your menu, you need to prepare them first. Just fry them with onions and oil in frying pan and set aside to cool down.


Now meat. Choose pork loin of desired size and cut off fats. Wash in cool water. Wrap it in paper towel to dry of a little bit.


Next, prepare your spices: salt, pepper and mustard. Get them ready but don't use them yet.

If you want to use mushroom stuffing, you need to make a pocket inside of the pork loin. If you are not using mushrooms, skip this step too. Instructions for pocket: insert a sharp knife into middle part of pork loin and make a clear cut, however, you don't want to cut through completely. Work left and right cutting a pocket of desired size. Something like that.


Use salt, pepper and mustard and generously season your meat inside and out. Stuff with fried mushrooms.


Now we need to prepare the place to cook our pork loin. I use a baking sheet with 2"-high borders. Place a piece of aluminum foil on the bottom (easy to clean off). Spray with oil. This is my personal touch to the recipe: I use any vegetable I have at hands for the bottom of the pan just for moisture and nice taste. If you short on carrots and potatoes, you can cook your meat just on the piece of oiled foil, but if you can afford to waist a couple of potatoes - use them. You even don't need to peal them, just wash them and cut into slices and place on the bottom of pan.


This part is a little bit tricky - you need to tight up the loin. It also helps to keep it whole and moisture. Peal a couple of cloves of garlic and insert into meat sides by making a sharp short cuts.


Season and cover with mustard one more time. We are ready to bake!

I set my oven to 400-420 degrees by Fahrenheit. Cooking time depends on the size of your meat and well-done you want it. Meat Temperature Chart is here. I cooked mine for an hour and it was a little bit pink in the thickest part, the rest was nice and brown. My inside temperature was 145. Take it out and let seat for while. NEVER CUT MEAT RIGHT AWAY - LET IT SEAT!


Either way, hot or cold, it is juicy and moisture, also good with garnish or without, with piece of bread or veggie salad. I served it with horse-radish sauce mixed half-and-half with sour-cream! Delicious!


Sunday, July 25, 2010

Rolling Fondant


Look here.

I didn't try to make rolling fondant in America yet. I did some in Russia thought. But you know how different recipe can be depending on many reasons. So, for now - only pretty pictures and To Do List for future projects: try rolling fondant someday!

Ingredients

  • 1 tablespoon unflavored gelatin
  • 1/4 cup water
  • 1/2 cup corn syrup
  • 1 tablespoon vegetable oil
  • 2 tablespoons shortening
  • 8 cups confectioners' sugar
  • 1/4 cup cornstarch, for rolling out the dough

Directions

  1. Place gelatin and water in a small saucepan over low heat. Stir until gelatin is melted. Remove from heat.
  2. Combine the corn syrup, vegetable oil, shortening, and confectioners' sugar in the bowl of a stand mixer. Turn the mixer on low, and add the gelatin mixture. Beat on low speed until a paste is formed. Refrigerate for 15 minutes to let harden slightly.
  3. To use, roll the fondant to 1/4 inch thickness, using cornstarch to coat the work surface and the rolling pin. Transfer fondant by rolling it around the rolling pin. Place fondant over cake and unroll it, stretching it into place as necessary. Use a paring knife to cut away the excess. Store unused fondant in an airtight container.

Barefoot Contessa: Fruit Tarts

I catered a party! Not for my son's B-Day, not for Grandma teachers club! The real party for my friend and her house-warming party. I was excited about it and took serious preparations. I checked 5 cook-books from the library and discussed the menu with my friend. The choice was "Barefoot Contessa Parties!" by Ina Garten.

I have to admit I really liked her recipes, her approach and her attitude to cooking and parties. She said, It should be fun! That's what we tried to do - have a good food and have fun!
I think my favorite recipe was Fruit Tarts and I will share it with you. I cooked them with some little adjustments and innovations, but all credits for its easiness and great taste definitely go to the author!

After living in the US for seven years and trying many different foods now I understand why Americans are all about home-made and fresh-cooked. Processed food and "dinner out of box" really took over not only in almost each household, but also in many restaurants and fast food places. But nothing tastes better then real food or as it is called here in the US - prepared from scratch. Yes, it takes longer. It is more costly. And definitely time-consuming. But it is worth it a thousand times.

This recipe makes 16 tarts of 3" diameter. For crust: you will need 2 1/2 cups of all-purpose flour, 6 tablespoons of sugar, 1 tablespoon of salt., 1/2 of pound of very cold unsalted butter and 6-8 tablespoons of ice water. Combine flour, sugar and salt in medium bowl and freeze them for 30 minutes before starting.

Take cold butter and shred it into flour.

Place the mixture into mixer and set on slow speed. Mix in enough water by tablespoonfuls to form dough that just comes together. Do not overdo it. Just enough time for dough to come together.

Gather dough into ball. Flatten into 2 disk. Wrap in plastic and refrigerate 30 minutes. Prepare your aluminum foil forms. No greasing needed.


Preheat the oven to 375 degrees. Roll dough out on lightly floured surface to 1/8 inch thick round.

Cut circles large enough to fit the tart pans.


It is important not to stretch the dough when placing it in the pans; be sure the circles are larger that the pans. Cut off the excess dough with sharp knife. Repeat the remaining dough.

Line each tart with a piece of aluminum foil. Fill crust with dried beans or rice.

Bake 10 minutes. Remove foil and beans(rice) and prick the bottom of each shell with a fork in order to allow the steam to escape.

Bake for another 10 minutes, until golden brown. Transfer to rack and cool completely.

For filling: place 1 tablespoon raspberry jelly in each tart shell and arrange the fruit on top. Use small soft fruits such as grapes, berries, sliced kiwis, etc. Combine the apricot preserves with a few tablespoons of water in a small saucepan and heat until smooth and runny. Brush the top of the fruit with the glaze.

Serve as soon as possible after filling so the pastry doesn't get soggy. I also made one big pie crust from the remaining dough and decorated it for our Sunday dinner.

It was very sweet dessert. So, my advice - go easy on jam and glazing! :)